 When director Ken Burns set out to make his groundbreaking documentary The Civil War he had lots of visual resources he could draw upon: letters, photographs, engravings, and newspapers, to name a few. But still images make for really boring television, so he came up with a way to create videos from them that has become so prevalent that there’s now a name for it: the Ken Burns Effect.
Our eyes are attracted to movement, and you can use this to your benefit when you’re designing a presentation. Movement can be a great way to focus people’s attention on the important points you’re trying to make.
When you should use the Ken Burns effect
Mr. Burns developed this technique to give life to a bunch of static images and you can do the same thing. You could vary your presentation a bit, showing some images in the regular way (just sitting there on the slide) and others that have been developed into a short vignette or video. Creating an animation like this also allows you to stop talking for a few minutes while your audience absorbs the information you’re presenting.
This technique is also very effective if you are creating a classic slideshow, such as one you would display during a wedding, family reunion, or company anniversary celebration.
Let’s compare two slideshows, one that uses still images and one that uses the Ken Burns effect:
Still Images
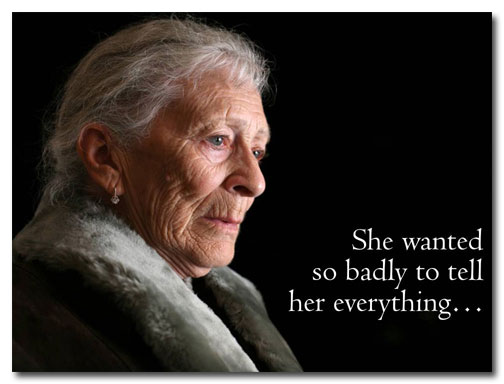

Are you feeling it? Maybe, maybe not. Let’s add some movement and audio.
Ken Burns Effect
Waaaaaaahhhhhh! *sniff* Somebody pass the tissues. By adding two simple animations, a transition, and some sad, sad music from PowerPoint’s clipart collection I’ve created a melancholy mood. Here’s how I did it.
Step 1: Animate slide 1
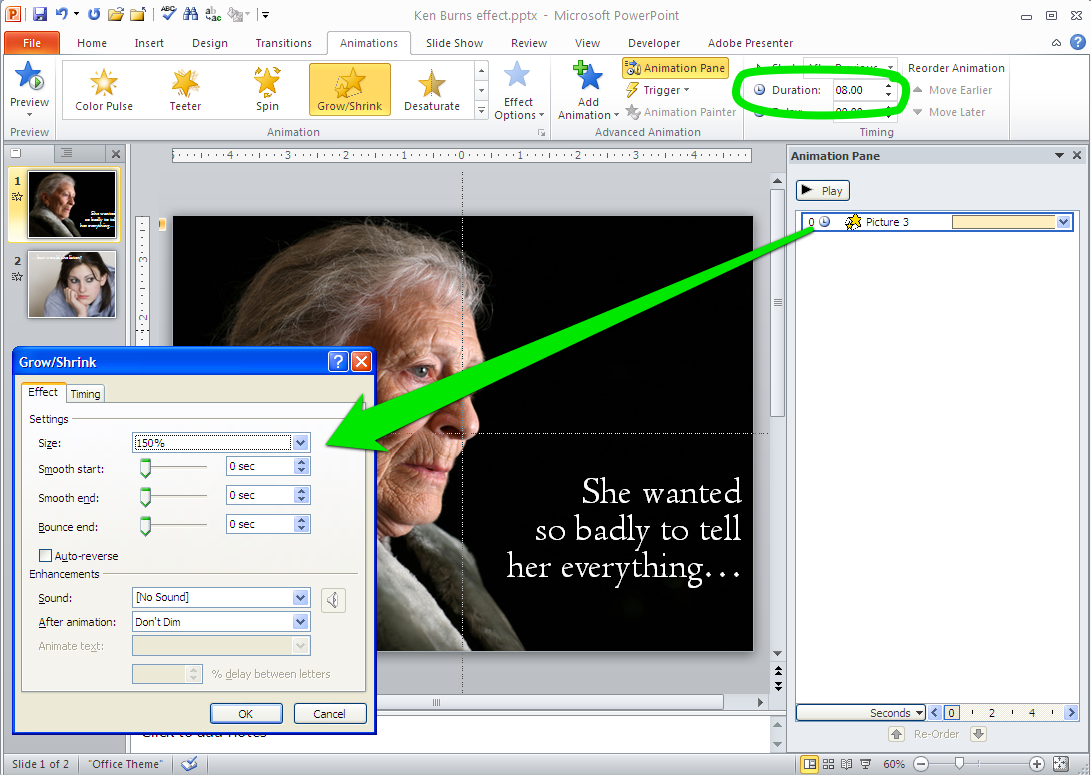
I selected the photo of the old woman and animated it with Grow/Shrink from the Emphasis collection. I set it to grow to 150% over the course of eight seconds (which you can see in the circled green area).
Step 2: Animate slide 2
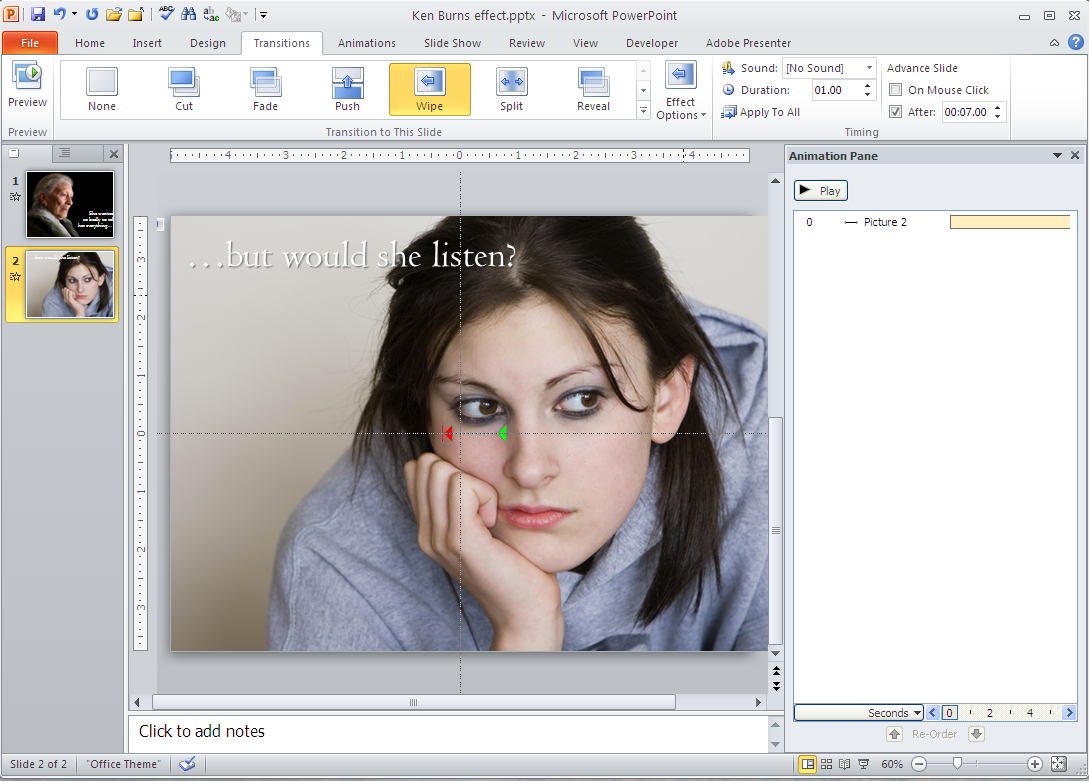
In the screenshot above you can see that the Transitions tab is active and “Wipe” is selected. The image is animated with a short animation path to move the photo to the left over the course of eight seconds.
Step 3: Fade to Black
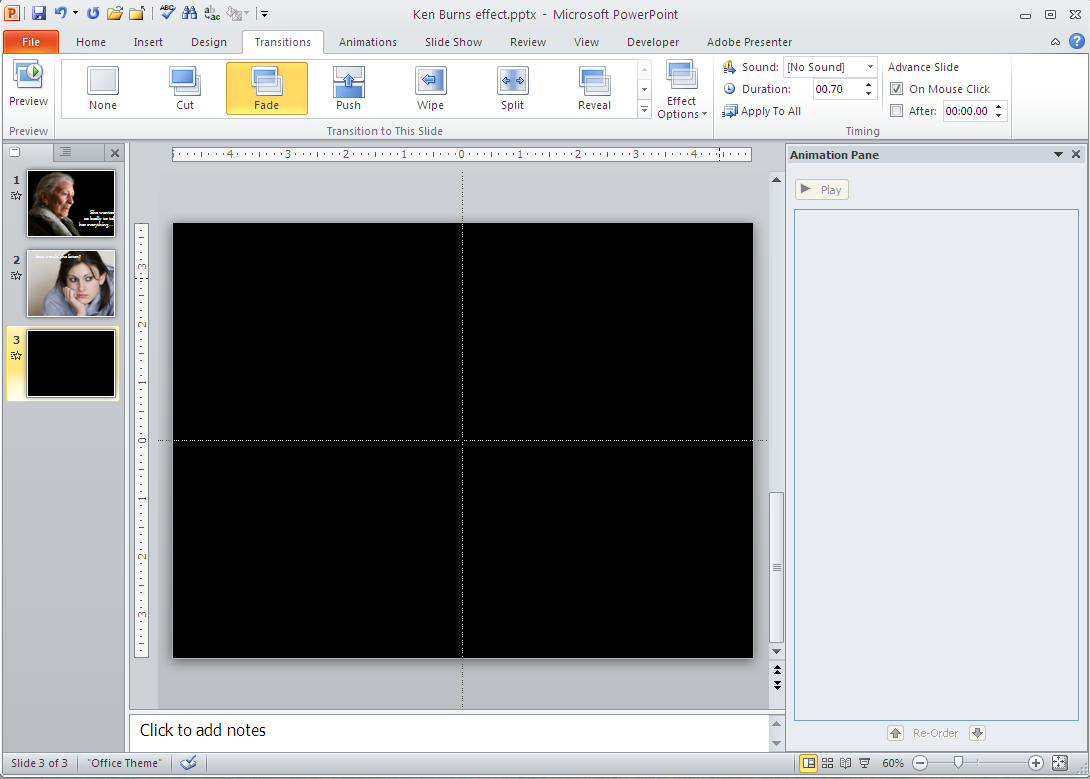
I added a final black slide and set the transition to fade.
Step 4: Cue the Music!
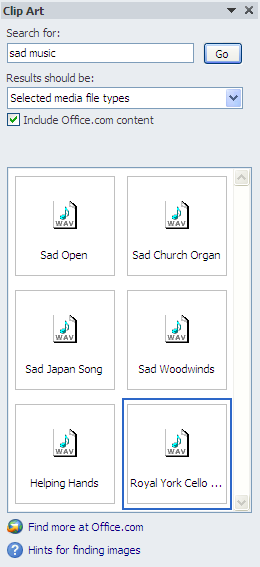
PowerPoint’s clip art collection has more than just cheesy illustrations. You can also find great audio files there. As you can see, I entered “sad music” in the search window and came up with six possibilities. I chose one and placed it into the file on the first slide.
I only needed a 16-second clip for this video, but PowerPoint has a weird bug that doesn’t allow you to trim an audio clip and play it across all slides. It ends up playing the whole audio file without trimming it. So I trimmed the audio to the length I wanted and faded out the ending using free software called Audacity, a powerful audio editing program available for Mac, Windows, and Linux operating systems.
So you see, with just a little extra effort you can give new life to old images, or create a mood to make the audience feel the way you want them to. And we owe it all to Ken Burns!
It’s amazing how you connect life to your work to make our PowerPoint lives easier and a lot more interesting and powerful!
Oh my gosh, Gina, you have a PowerPoint life! I’m glad I’ve helped to improve it for you. 😛
Hello Laura,
Loved what you did with the slides. And the comparison really creates great drama! Nicely done. BTW I happened to see the link Geetesh posted about this post. Which brought me here. Glad it did.
I am subscribing to get more goodness!
Thanks so much, Sam!
Laura, I see so many PPt presentations that could have used your help. I just ran a meeting with four speakers in which I prepped each one with the most useful PowerPoint shortcuts to use in Slide Show mode, and all the speakers fumbled at the podium as they ignored these shortcuts. I think your course, “Death by PowerPoint” should be required of each presenter at The Venture Forum meetings at WPI.
I have been at a few meetings that use other presentation software that some say will replace PowerPoint. These presentations shifted then zoomed in on different pieces of the same slide, and sometimes used rapid animations of messages being written and drawn by hand. Can you tell us more about those, and how they compare to PowerPoint?
It’s always nice to find a new way to add some spice to a presentation. Thanks for sharing.
[vimeo 59313084 w=500 h=375] KenBurnsFX 720p from Miguel Monteiro on Vimeo.