As a commercial artist, it’s sometimes difficult for me to find the time to do art for art’s sake. Yet it’s vital that I do it so that I can keep my work fresh and remember why I became an artist in the first place. So this year, I decided to make both kids’ costumes from scratch. In retrospect, since I was facing some pretty tight deadlines in October it probably wasn’t the best career move I could have made. But knowing that the kids really enjoyed their costumes and seeing the reactions of other people who saw them made it worthwhile.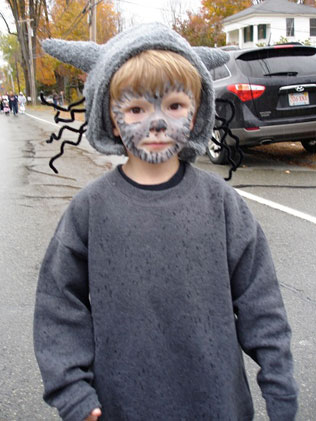
This year, Jack wanted to be a wolf. So I found a great Instructables article on how to make a wolf hat à la Where the Wild Things Are. I changed the pattern a little bit, using a grey towel instead of fleece and pipe cleaners instead of thin wires for the whiskers. I had plenty of fabric left over to make a tail, which I pinned to the back of Jack’s grey sweat pants. Add a quick face painting job, and you got yourself a wolf.
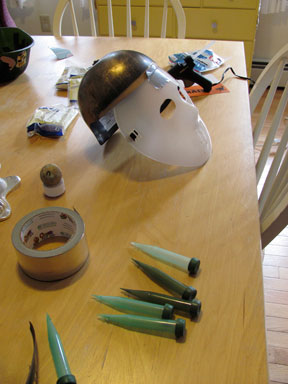
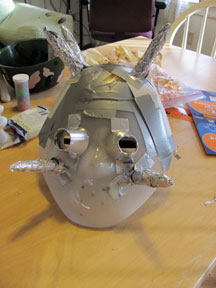
Henry’s was more difficult. He wanted to be a Tus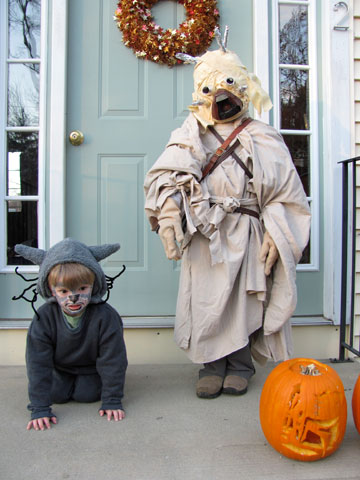 ken Raider from Star Wars. I looked online and found loads of cosplay designs, all of which would have taken more time and funding than I wished to devote to the project. So I turned to some trusted friends: duct tape and hot glue. Henry tore up a bed sheet to make the wrappings and I dyed them using tea, which turned out to be a waste of time since the sheets were pretty much the right color in the first place. I started out with a base of a mask and helmet from the dollar store with some card stock on the sides. For the robes, my husband sacrificed another bed sheet. Here you can see the finished costume, with a couple of belts criss-crossed across the chest to complete the look.
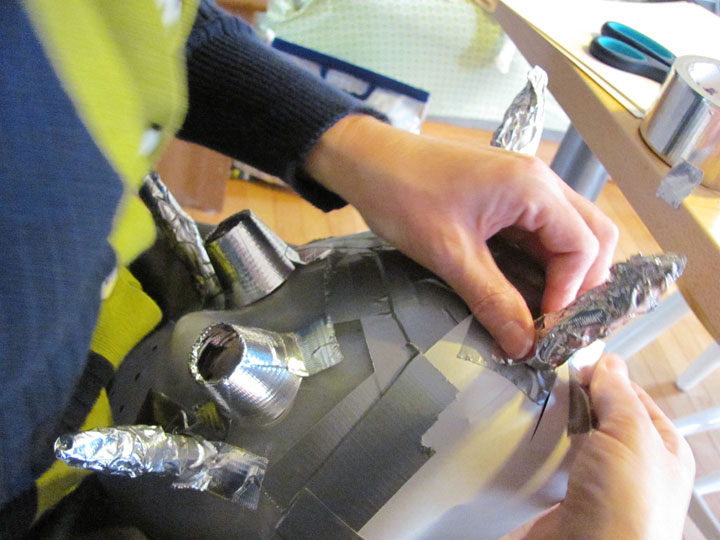
Here you can see some of the interim steps I took in creating the mask. There aren’t any pictures of me gluing the fabric on, since by that time it was getting so close to the time we had to leave that I didn’t want to stop for pictures!

You must be logged in to post a comment.