• Skip to primary navigation
  • Skip to main content
  • Skip to footer
LMFD logo

Laura M. Foley Design

Cheat Death by PowerPoint!

  • Capabilities
    • Presentation Design
    • Presentation Rebuild
    • Presentation / Webinar Audit
    • Next-level Presentation Training
      • Presentation Chat
      • Rocking Your Remote Presentations
      • Slide Makeovers LIVE!
      • Presentation Skills for Brainiacs
      • Mastering Your Ignite Presentation
      • Laying Foundations for Great Presentations
      • Customized Presentation Training
    • Webinar Development
    • Marketing
    • Speaking
  • Resources
  • Blog
  • Portfolio
    • Motion Graphics and Loops
    • Sample Presentations
    • Slide Makeovers
    • Graphic Design
    • Illustration
  • About
  • Connect

The easiest way to animate PowerPoint slides

You are here: Home / How to / The easiest way to animate PowerPoint slides

December 1, 2015 by Laura Foley 1 Comment

Having too much stuff on a slide all at once can be frustrating for the audience. They have to divide their attention between the slide and the presenter, a needless distraction. If you’re guilty of putting too much on a slide, maybe it’s because you think animation is difficult or too time consuming. Well, here’s a way to animate your slides that’s simple, effective and fast!

This works best for slides with solid-color backgrounds. For the purposes of this lesson, we’re going with a basic white background. Classy!

Step 1: Create a slide with lots of stuff on it

No problem, right? Here’s an example:

5-step process chart

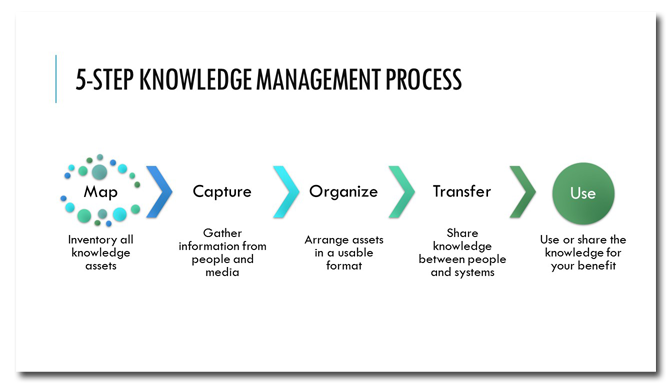
Your slide might be a bullet point list, objects, or any number of things. Make sure that the objects on your slide don’t touch each other.

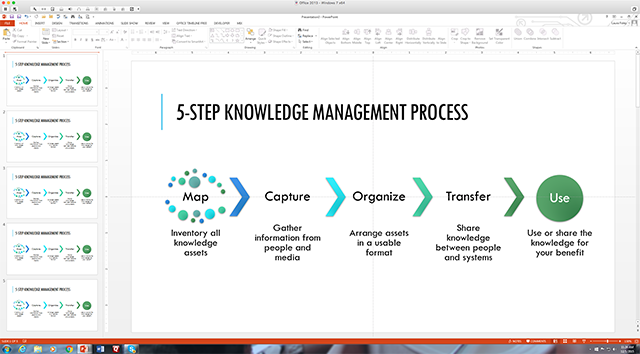
Step 2: Duplicate the slide

Figure out how many animations you want to reveal the information a little at a time. In this case it’s easy: five steps = five animations. So I need five copies of the same busy slide, like this:

Duplicate slide 5x

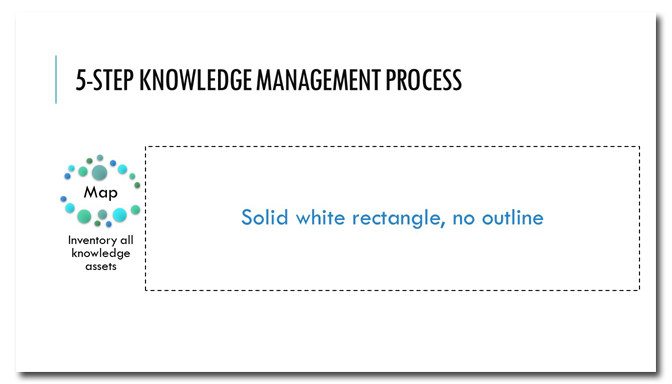
Step 3: Start covering stuff up

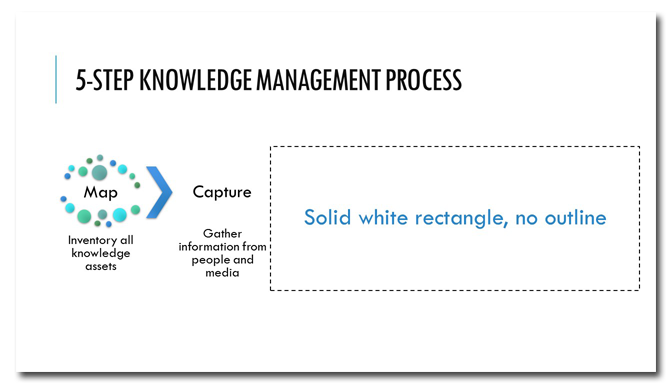
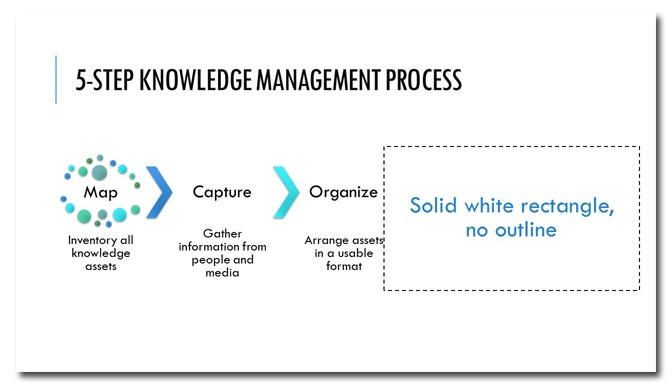
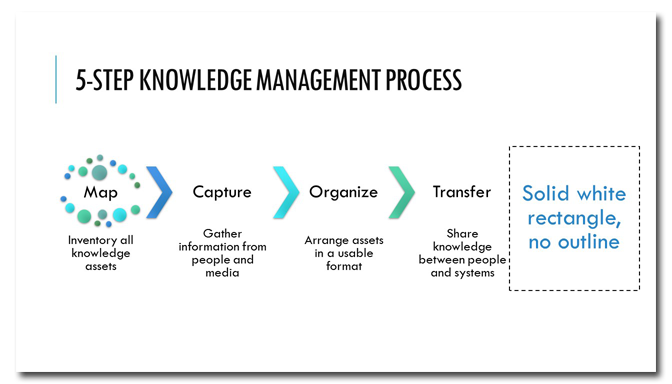
On slide 1, cover up all but the first step with a solid white rectangle with no outline. (To show you where to place the rectangle, I’ve labeled it and added a dashed outline.) On slide 2, cover up all but the first and second steps. Keep going like this until the final slide, which doesn’t receive any cover-up.

Slide 1

.step-1

Slide 2

step-2

Slide 3

step-3

Slide 4

step-4

Slide 5 (the original slide)

5-step process chart

Now the magic happens

When you view this presentation in Slide Show mode, you’ll see that it’s animated like this:

Animated 5 steps

How easy was that? Enjoy your newfound animation skills!


Share this:

  • Facebook
  • LinkedIn
  • Twitter
  • Reddit
  • Print

Like this:

Like Loading...

How to,  PowerPoint animating,  animation,  Cheating Death by PowerPoint,  Death by PowerPoint,  Laura Foley,  Laura M. Foley,  Laura M. Foley Design,  powerpoint,  presentation,  presentation design,  slides,  the PowerPoint lady

Footer

Social

  • Email
  • Facebook
  • LinkedIn
  • YouTube

Contact

AS OF 2022, LAURA M. FOLEY DESIGN IS NO LONGER IN BUSINESS. THIS WEBSITE REMAINS FOR ARCHIVAL PURPOSES.

Navigation

  • Capabilities
    • Presentation Design
    • Presentation Rebuild
    • Next-level PowerPoint Training
    • Webinar Development
  • Speaking
  • Resources
  • Blog
  • Portfolio
  • About
  • Connect

Copyright © 2025 · Laura M. Foley Design· All rights reserved. As of 2022, Laura M. Foley Design is no longer in business. This website remains for archival purposes.


Loading Comments...
 

    %d